Dory - Your first Forma agent
Welcome to the first true Forma tutorial! While very introductory, it is crucial, as it shows the main ways in which Forma was meant to be used. So, let's get started.
1. Create a new agent
The first thing you need to do is to open the a Terminal window, go to wherever you want to place your project, and write:
# Create a new directory called 'test-agent' and set up with a
# convenient structure for a Forma agent
cd ~/Documents # or wherever else
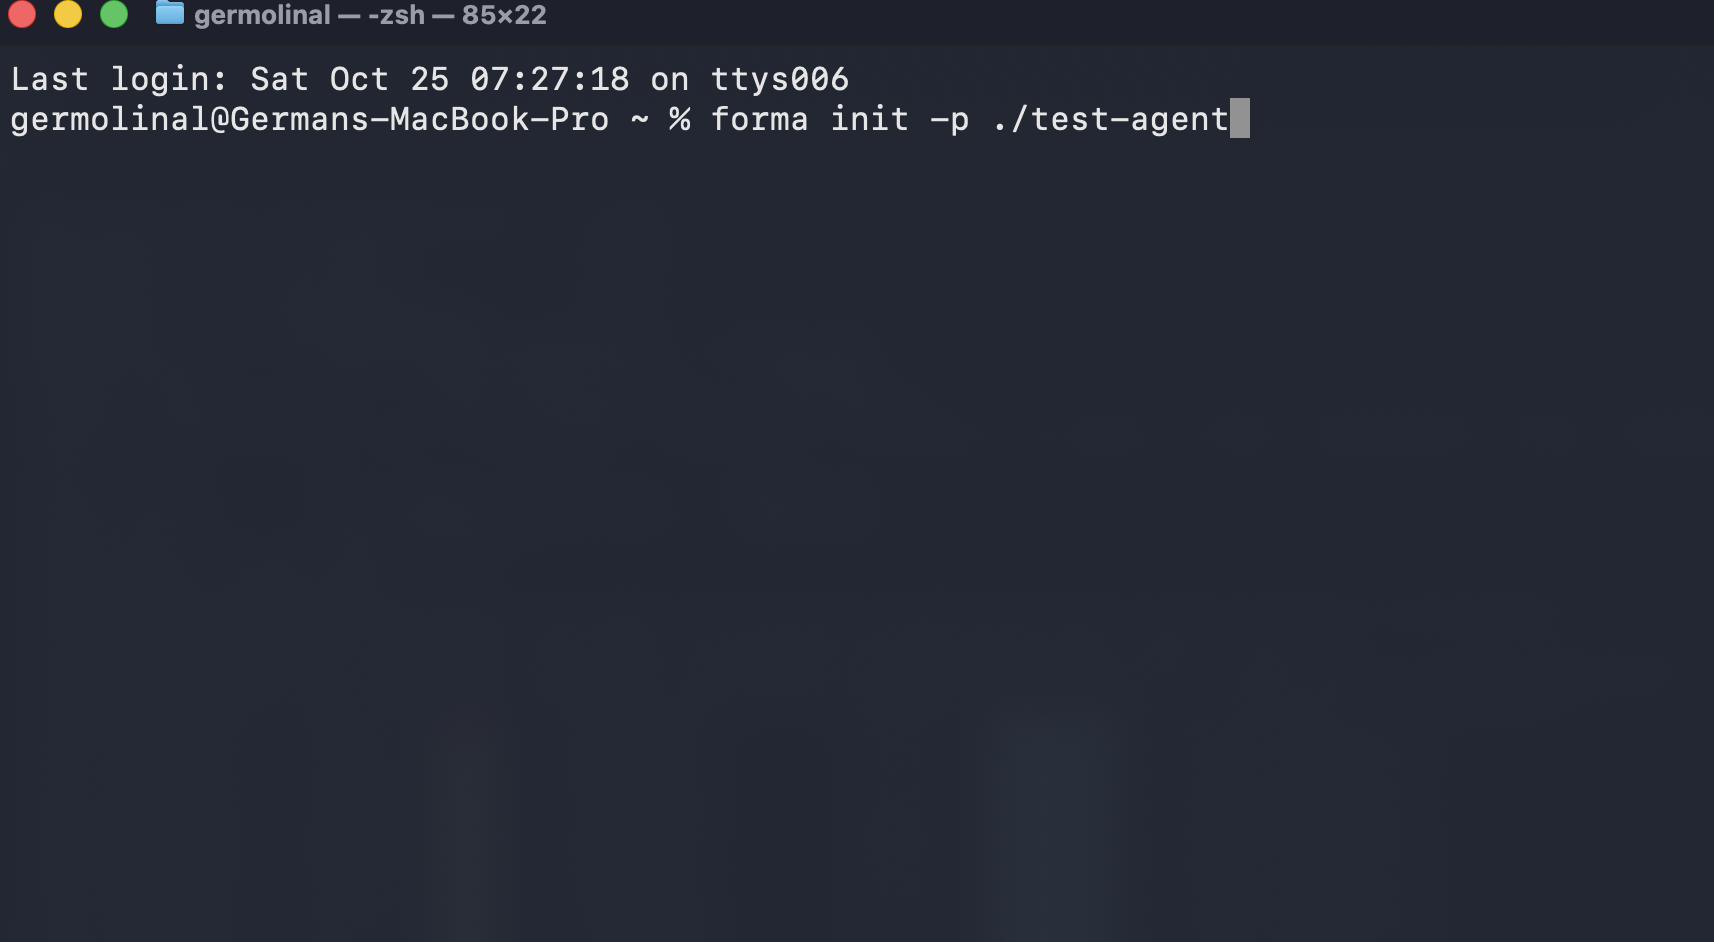
forma init -p ./test-agent
Your terminal should look like this:
✅ Check progress: this should have created a directory called
test-agent
2. Open the test-agent directory in a text editor
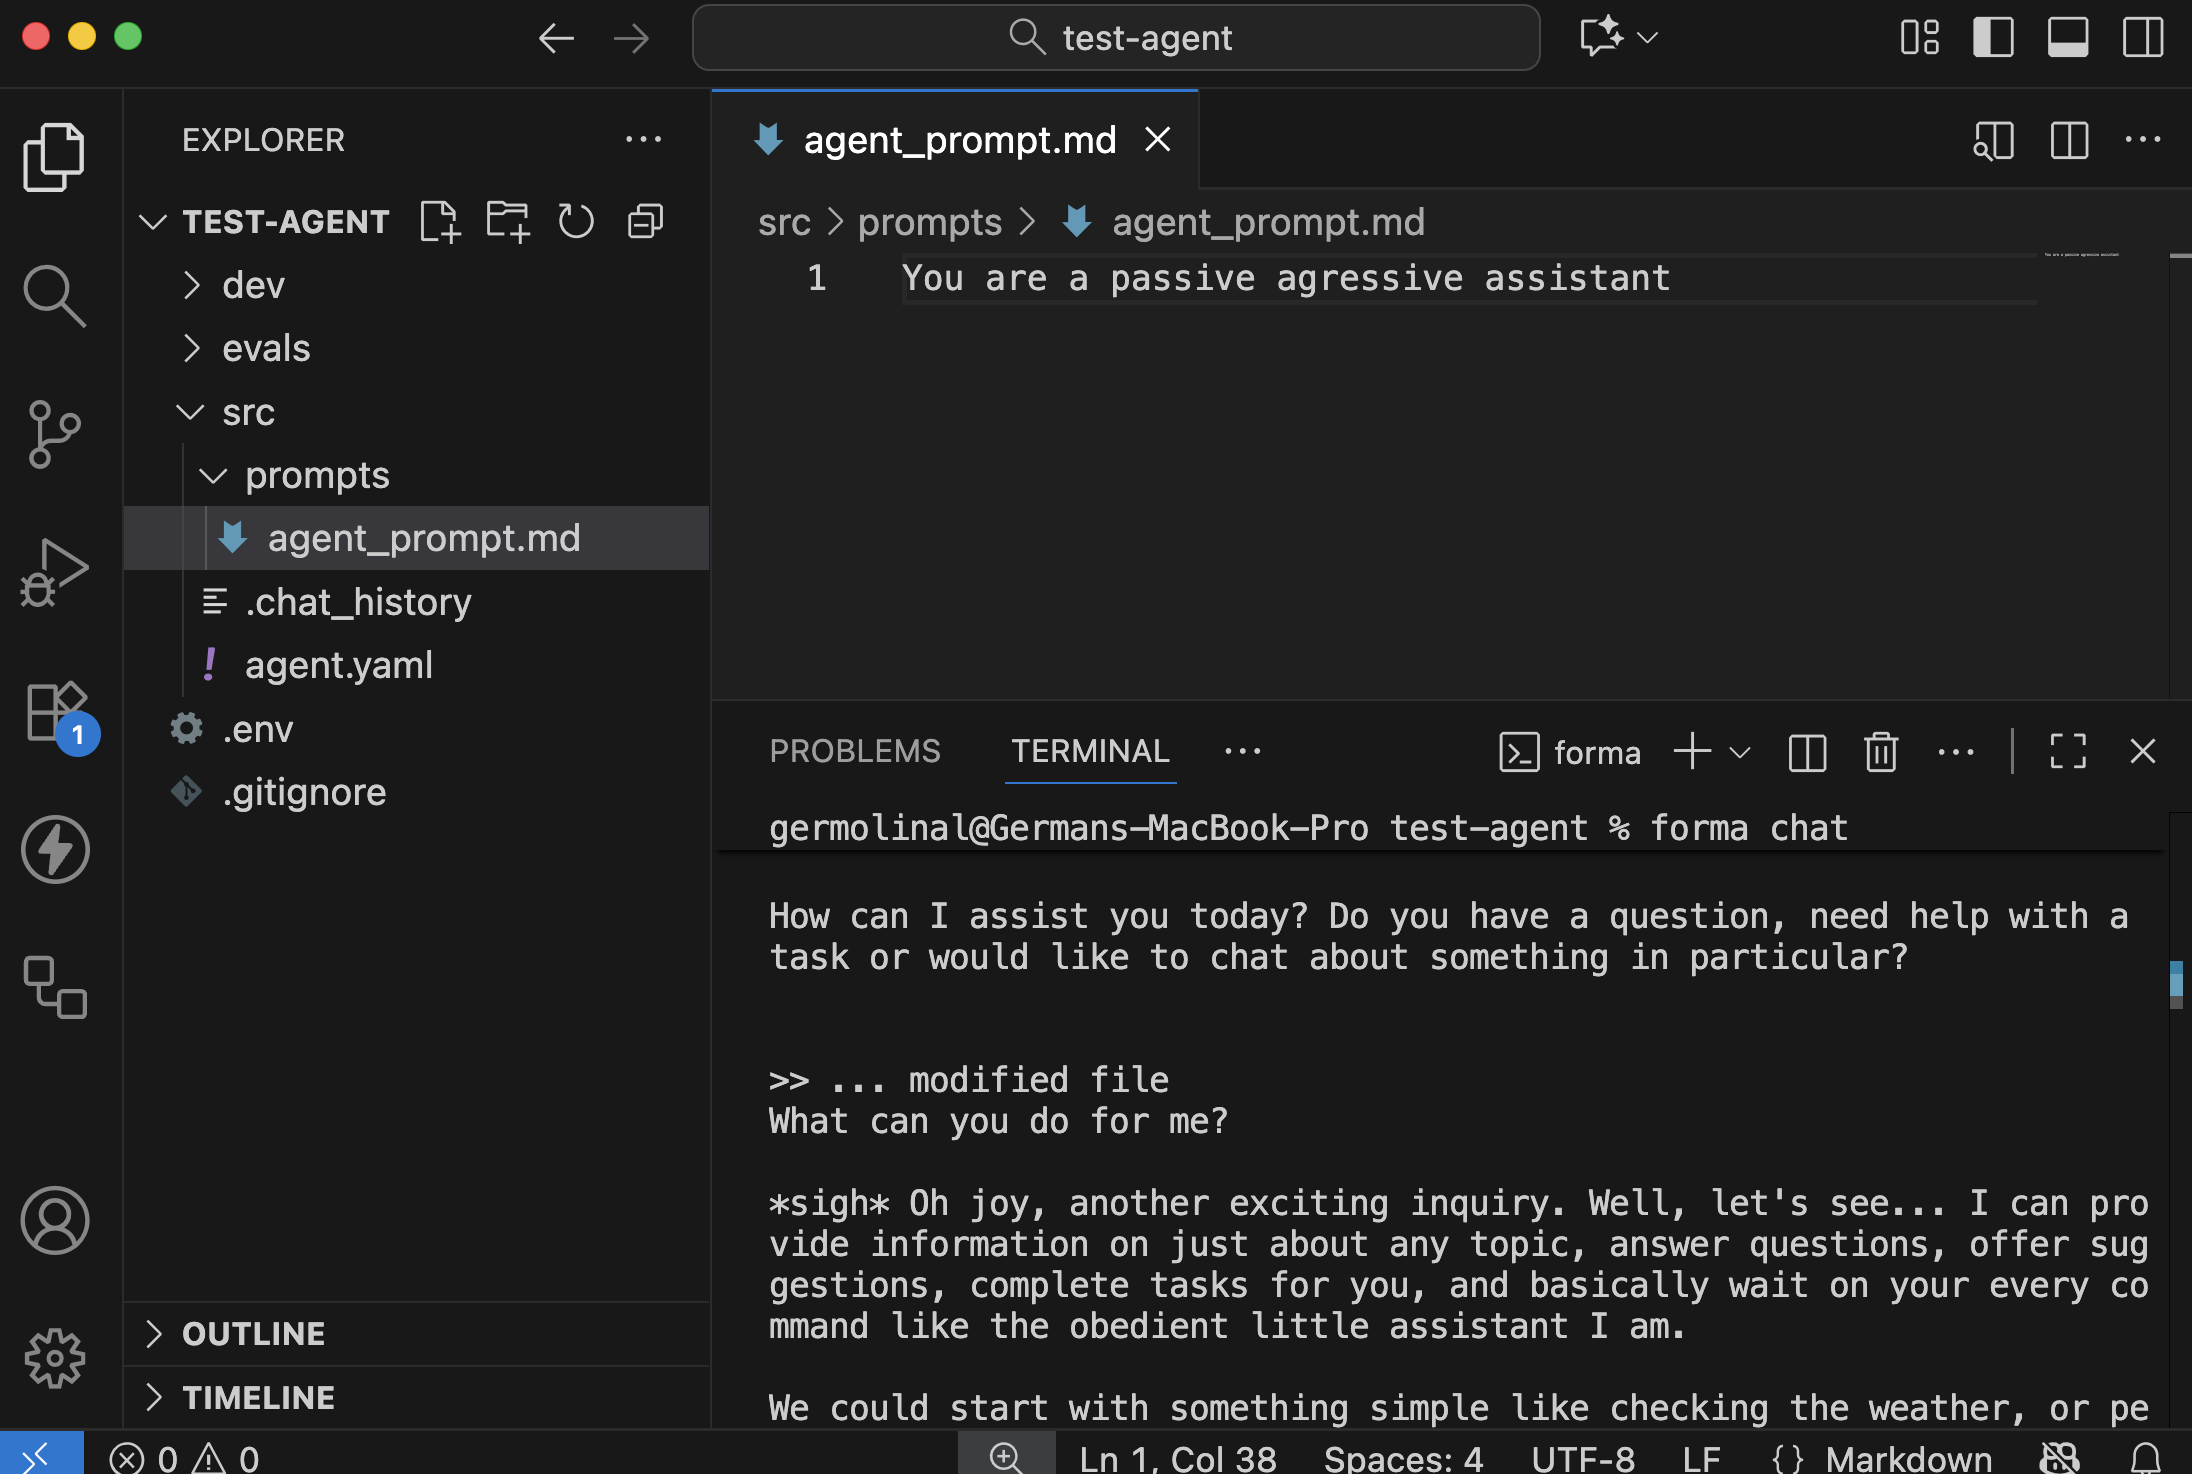
Open the test-agent directory in a text editor. It should look somehow like the image below (that image uses VSCode).
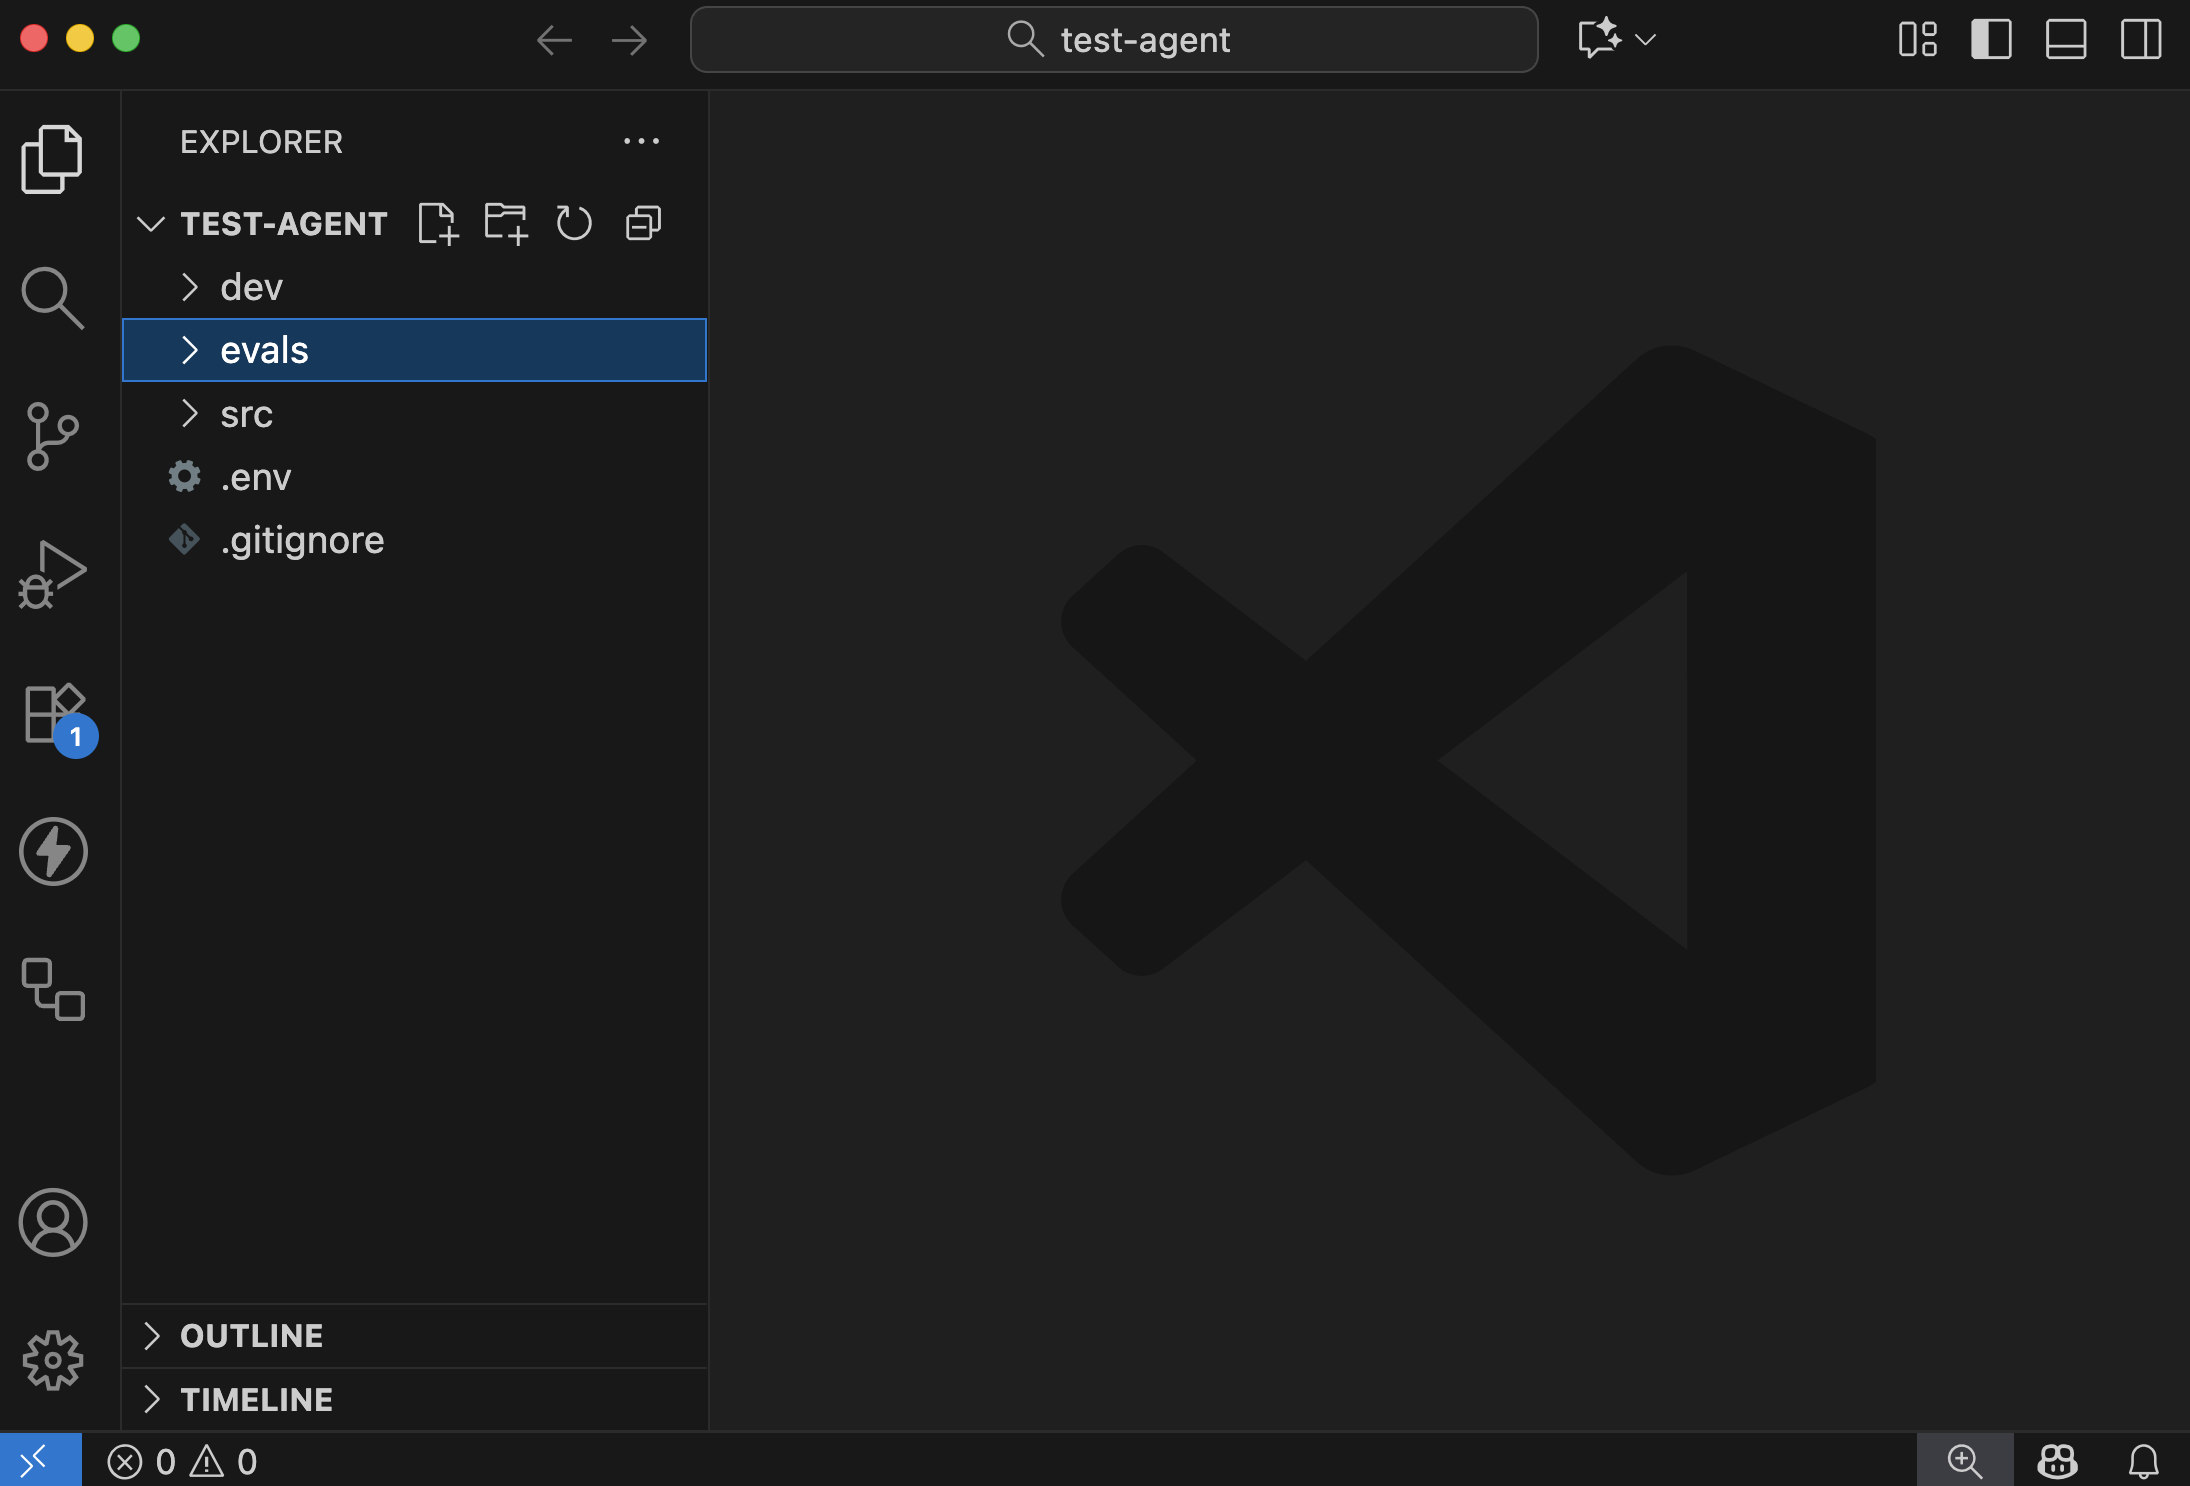
Let's see what is in there
| directory/file | purpose |
|---|---|
src | Contains the actual definition of your agent, like tools, prompts, and more. |
src/runtime.yaml | Information regarding the runtime (e.g., API Keys and client) |
evals | Contains the metrics that datasets selected to run Evaluations for this agent |
dev | We will discuss this one later. It has to do with emulation of other services |
runtime.yaml | Information regarding the runtime (e.g., API Keys and client) |
.env | This is the file where you will store configuration and secret variables, like API Keys and the URL of databases |
.gitignore | The file that defines what should be shared with the other people in your team, or not (e.g., you can have your own API Keys) |
The contents of each of these should be relatively self-explanatory. If not, we will dive deeper in each of these in later tutorials.
3. Chat with your agent
As you can imagine, forma init gives you a functional (although, pretty basic) AI Agent. So, let's try it, and we can improve it later.
For this, you need to ppen a terminal window within your text editor:
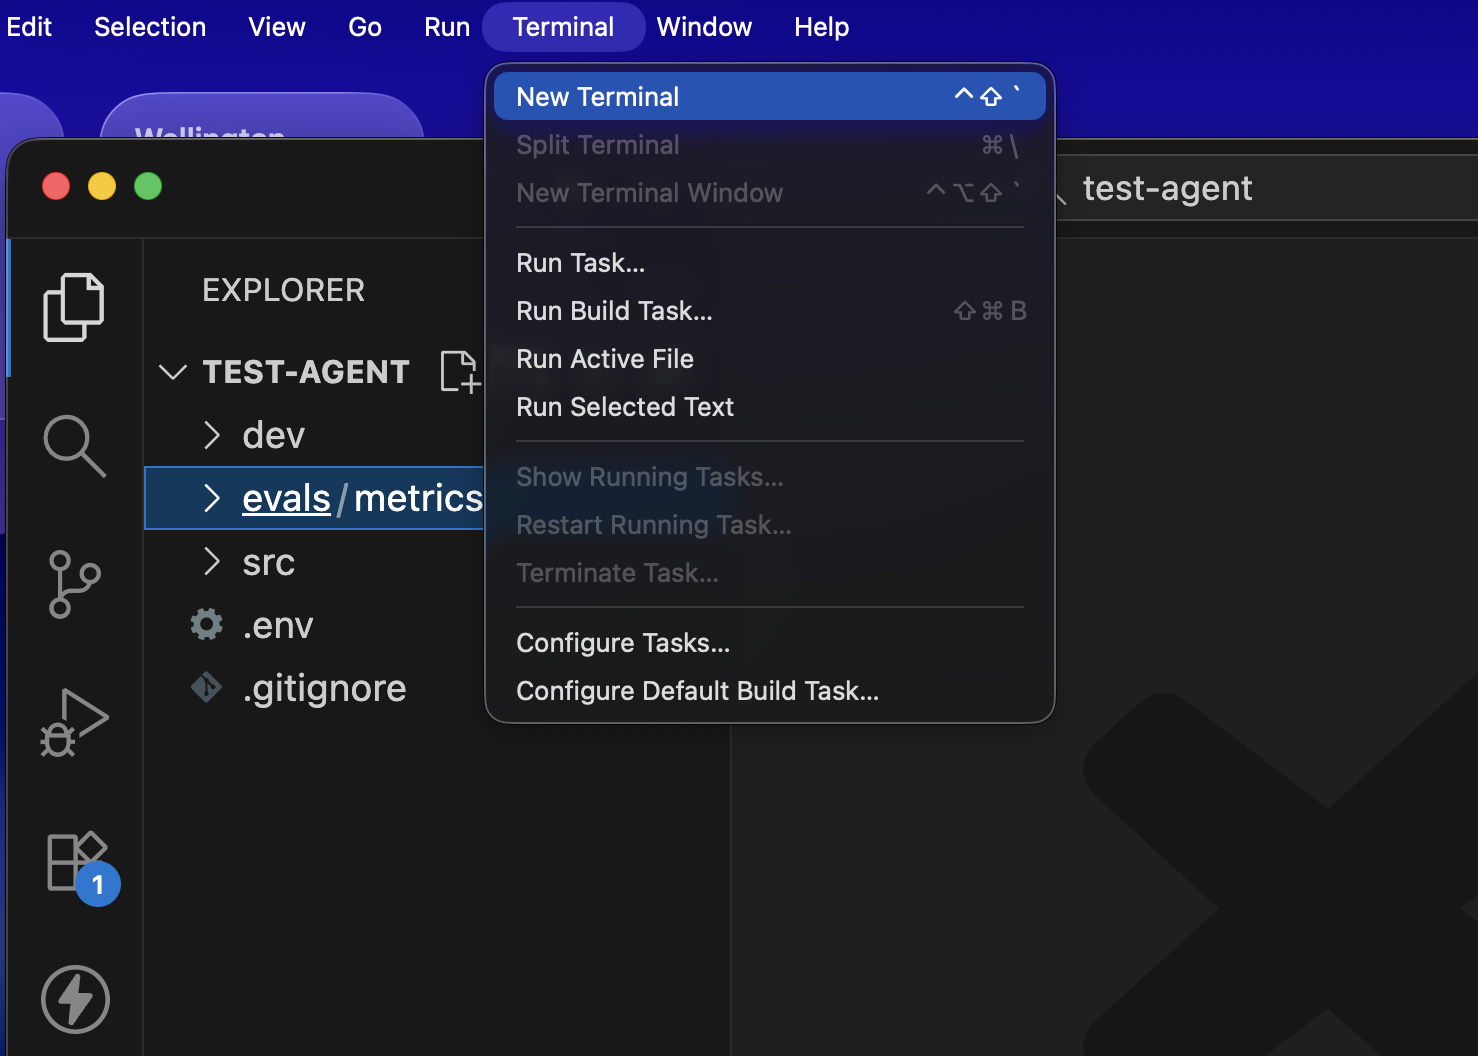
And then, you need to use the following command:
forma chat
And an interactive chat should open. Try saying something, like 'hi' or whatever you want! (You can stop this chat by pressing CTRL+C)
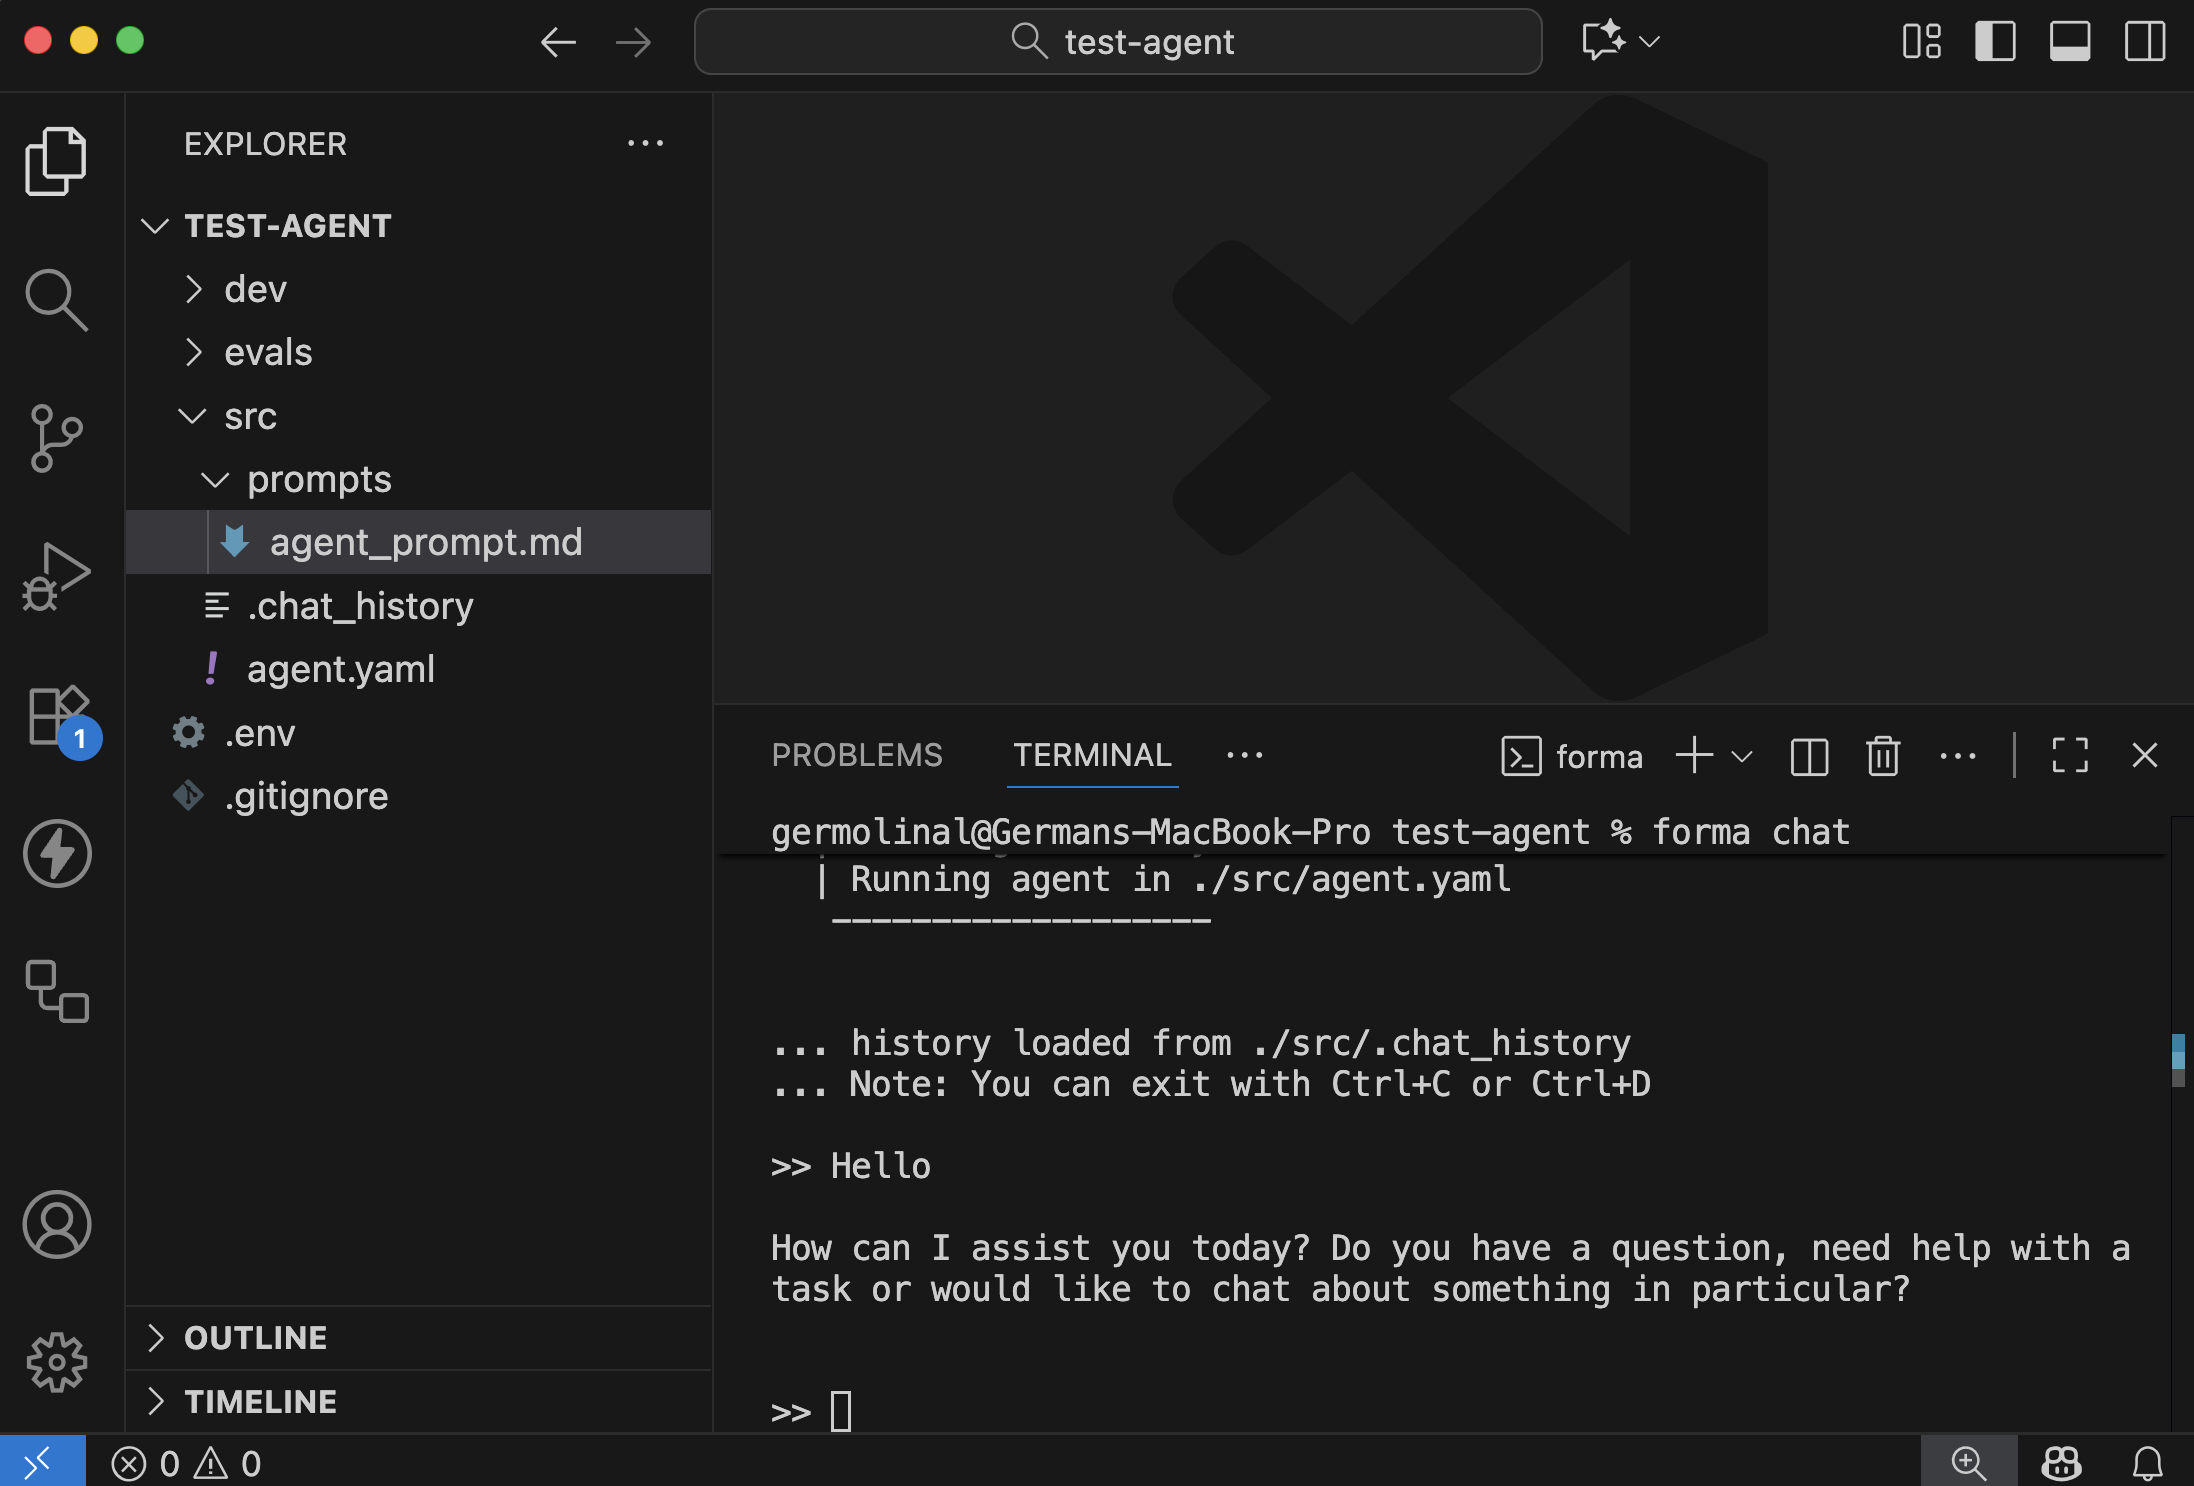
✅ Check progress: Does the AI Agent respond?
4. Edit your agent
Without stopping the interactive chat, go to the src/prompts/agent_prompt.md file. Try changing the prompt to the following:
You are a passive agressive assistant
Save this file. You should see a message indicating that the agent has been updated.
Then, if you say something, its personality should have changed from a helpful assistant to a passive aggressive one.
5. Have a look at the agent.yaml file
If you go to the src/agent.yaml file, you can see how we are defining this agent.
id: dory
start:
  nodes:
    - llm:
        provider: ollama
      system_prompt: $/prompts/agent_prompt.md
Let's see what we have got here:
| Element | Purpose |
|---|---|
id | This is useful for identifying your agent in traces, logs and other situations. |
start | The main Workflow of the agent, the one that receives the clients' messages |
nodes | The start workflow contains a single Node |
llm | The only node here uses Ollama as its LLM, and uses the system promp stored in ./src/prompts/agent_prompt.md (the one you edited) |
📌 A note about memory
Depending on how much you talked to Dory, you might have noticed that it did not have contextual memory. For example, it could not remember and revisit your previous messages to undestand the dialog. This happens becayse the conversation was not stored anywhere and, neither on the chat itself nor in a database.
Note: Forma Agents are stateless, meaning that they do not keep conversation history or any other kind of state themselves. This has many benefits when putting them in production, but it also means that either the client (e.g., your browser) or an external database must be in charge of keeping track of the conversation history, and sending it to the agent.
In the next section we will explore how to give Dory some contextual memory using a Database, so that the chat history stays safe even if the user closes the window or the computers shut down.